Pine Tar Benefits and Uses for Cold-Processed Soap
Pine Tar Benefits and Uses for Cold-Processed Soap
Pine tar has a long-standing reputation in both the medicinal and therapeutic fields. From the ancient Nordics to Native Americans, this natural substance has been celebrated for its soothing and healing effects on the skin. Here at The Natural Lather, we harness the power of pine tar in our cold-process soaps to provide a natural solution for various skin types. This article will delve into what pine tar is, its skin benefits, and why we believe pine tar soap is so special.
What Is Pine Tar?
Pine tar is a sticky residue-like substance obtained by the destructive distillation of pine wood. This is an ancient process that involves heating pine wood in an oxygen-free environment, which causes it to break down and release the viscous liquid. Historically, pine tar was used to preserve wooden ships, ropes, and to treat skin ailments.
The process of making pine tar has remained virtually unchanged for centuries, preserving its natural and powerful properties. Its dark color and deep, smoky scent make it a unique and powerful ingredient in many therapeutic applications, including soap making.
Benefits of Pine Tar for the Skin
According to a study done by the National Institute of Health topical use of pine tar has the following potential benefits:
- Anti-inflammatory and Antimicrobial Properties: Pine tar is effective in combating skin conditions like eczema, psoriasis, and dry, flaky skin by alleviating itching and irritation.
- Purifying and Detoxifying: It helps remove impurities and excess oil from the skin, promoting a clear complexion.
- Moisturizing: Pine tar keeps the skin supple and hydrated, preventing dryness and cracking.
Pine Tar in Cold-Process Soap Making
Incorporating pine tar into cold-process soap requires careful handling, speed, and patience. At The Natural Lather, we blend our pine tar with the melted oils and butter before we add the lye solution to. This ensures that the pine tar can be evenly distributed throughout the soap mixture.
Once the pine tar is fully mixed with the oils and butter, we slowly add the lye solution while continuously stirring to achieve a smooth, homogeneous mixture. However, if you have ever used pine tar in a recipe you know that it thickens the batter within seconds. Proper temperature and timing become crucial. This process helps preserve the benefits of pine tar in the final product. The soap takes on a rich, dark color with a distinctive earthy smell. It produces a creamy lather and offers gentle exfoliation due to its slightly gritty texture. The natural antiseptic and anti-inflammatory properties of pine tar enhance the soap's ability to cleanse and soothe the skin, making it ideal for sensitive or troubled skin.
Pine Tar Cold-Process Soap Recipe for Exzema and Psoriasis
Here is a basic yet powerful cold-process soap recipe, with step-by-step instructions, that utilizes pine tar.
Step 1 - Gather Your Ingredients
Many of the following ingredients can be found at Costco and are relatively inexpensive.
- Extra Virgin Olive Oil (9.6oz)
- Sustainable Palm Oil (9.6oz) (if you're unsure about the palm oil just replace with more olive oil)
- Extra Virgin Coconut Oil (4.8oz)
- Avocado Oil (3.2oz)
- Castor Oil (1.6oz)
- Shea Butter(1.6oz)
- Authentic Pine Tar (2 tbsp)
- Tea Tree Essential Oil (0.5oz)
- Cedarwood Essential Oil (0.5oz)
- Distilled Water (12oz)
- Sodium Hydroxide or Lye (4.2oz)
Step 2 - Prepare Your Lye Solution
We start off with mixing the Sodium Hydroxide and Distilled Water. This step is important to do first because it can reach high temperatures up to 180 degrees Fahrenheit and we will need it to cool down to between 110 and 130. Be sure to take proper precautions when mixing your lye solution such as making sure you are in a well-ventilated area and wearing the proper safety gear such as gloves, glasses, and mask.
Once you ensure proper precautions have been taken gradually pour your lye into the water. With a slow pour this helps to ensure the temperature doesn't rise to quickly causing it to boil, then set aside to cool stirring occasionally.
Step 3 - Mixing the Oils
Next, we will combine the Olive Oil, Palm Oil, Coconut Oil, Avocado Oil, Castor Oil, Shea Butter into a pot and begin melting. You will want to melt on low-medium heat until the temp reaches about 135 degrees Fahrenheit.
Once the oils are melted you will then add the Pine Tar stirring it in slowly and dissolve it into the oils. Next, we are going to add our essential oils to the pine tar-oil mixture. We have to add the essential oils now because when you are working with authentic pine tar the soap batter will come to trace within seconds.
Step 4 - Saponification
Once the lye solution and oils have cooled to approximately 120 degrees Fahrenheit it is time to mix! Place your emulsion blender into the oils and slowly begin to pour the solution down the shaft of the blander to avoid any splashes. Gradually mix the oils and lye, ensuring you have a proper emulsion. I do a quick burst with the blender no longer than 1 second at a time while constantly stirring with a silicon spurtle.
Step 5 - The Pour
Once everything is mixed nicely, and a proper emulsion has formed, it is time to pour into your mold. After the mold is filled be sure to tap the mold onto the counter to help the soap settle into the mold, and to release and air that may have been trapped in the batter. During saponification, pine tar cold-process soap can get extremely hot and cause cracking and other issues. To counter this, we like to put it directly into a dedicated cooler, or refrigerator.
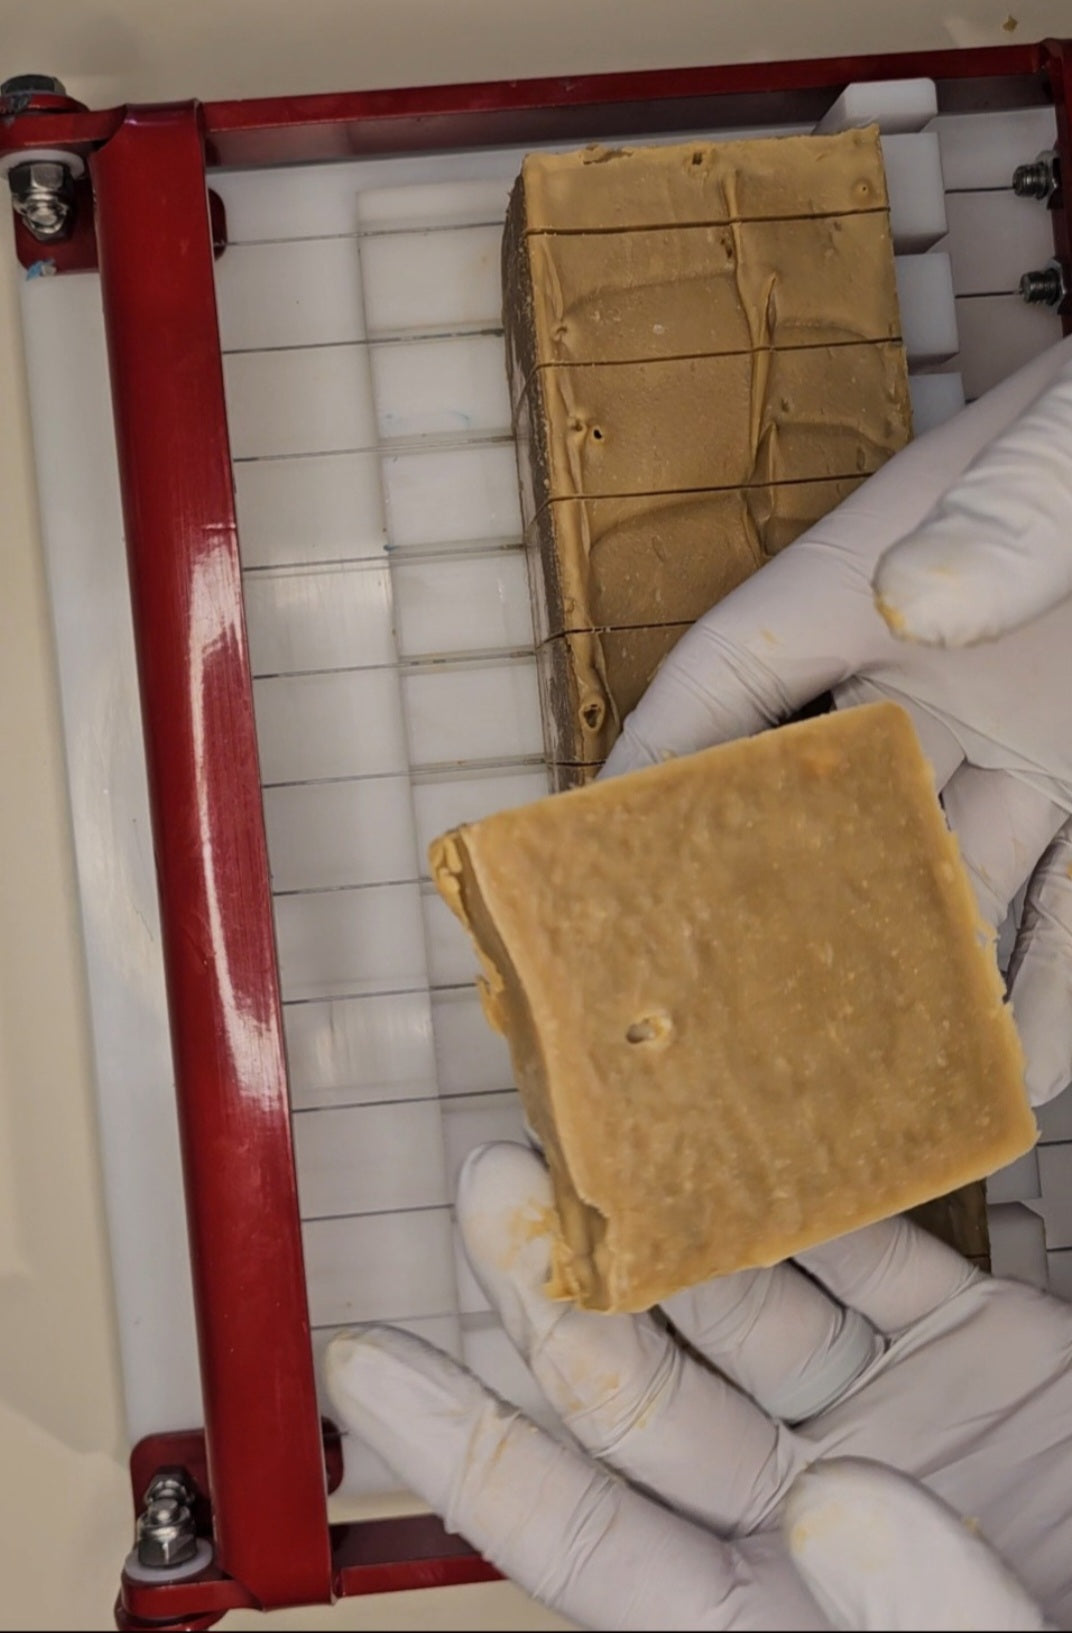
Step 6 - The Cut
After 24-48 hours in the mold, your soap will be ready to cut, although you can wait longer if you prefer. Once the soap is cut place on a drying rack to finishing the curing process. It is best practice to let your soap fully cure for 4-6 weeks.
Step 7 - Enjoy
Once your soap has finished curing it is time to lather up and revel in all of the great benefits it has to offer!